
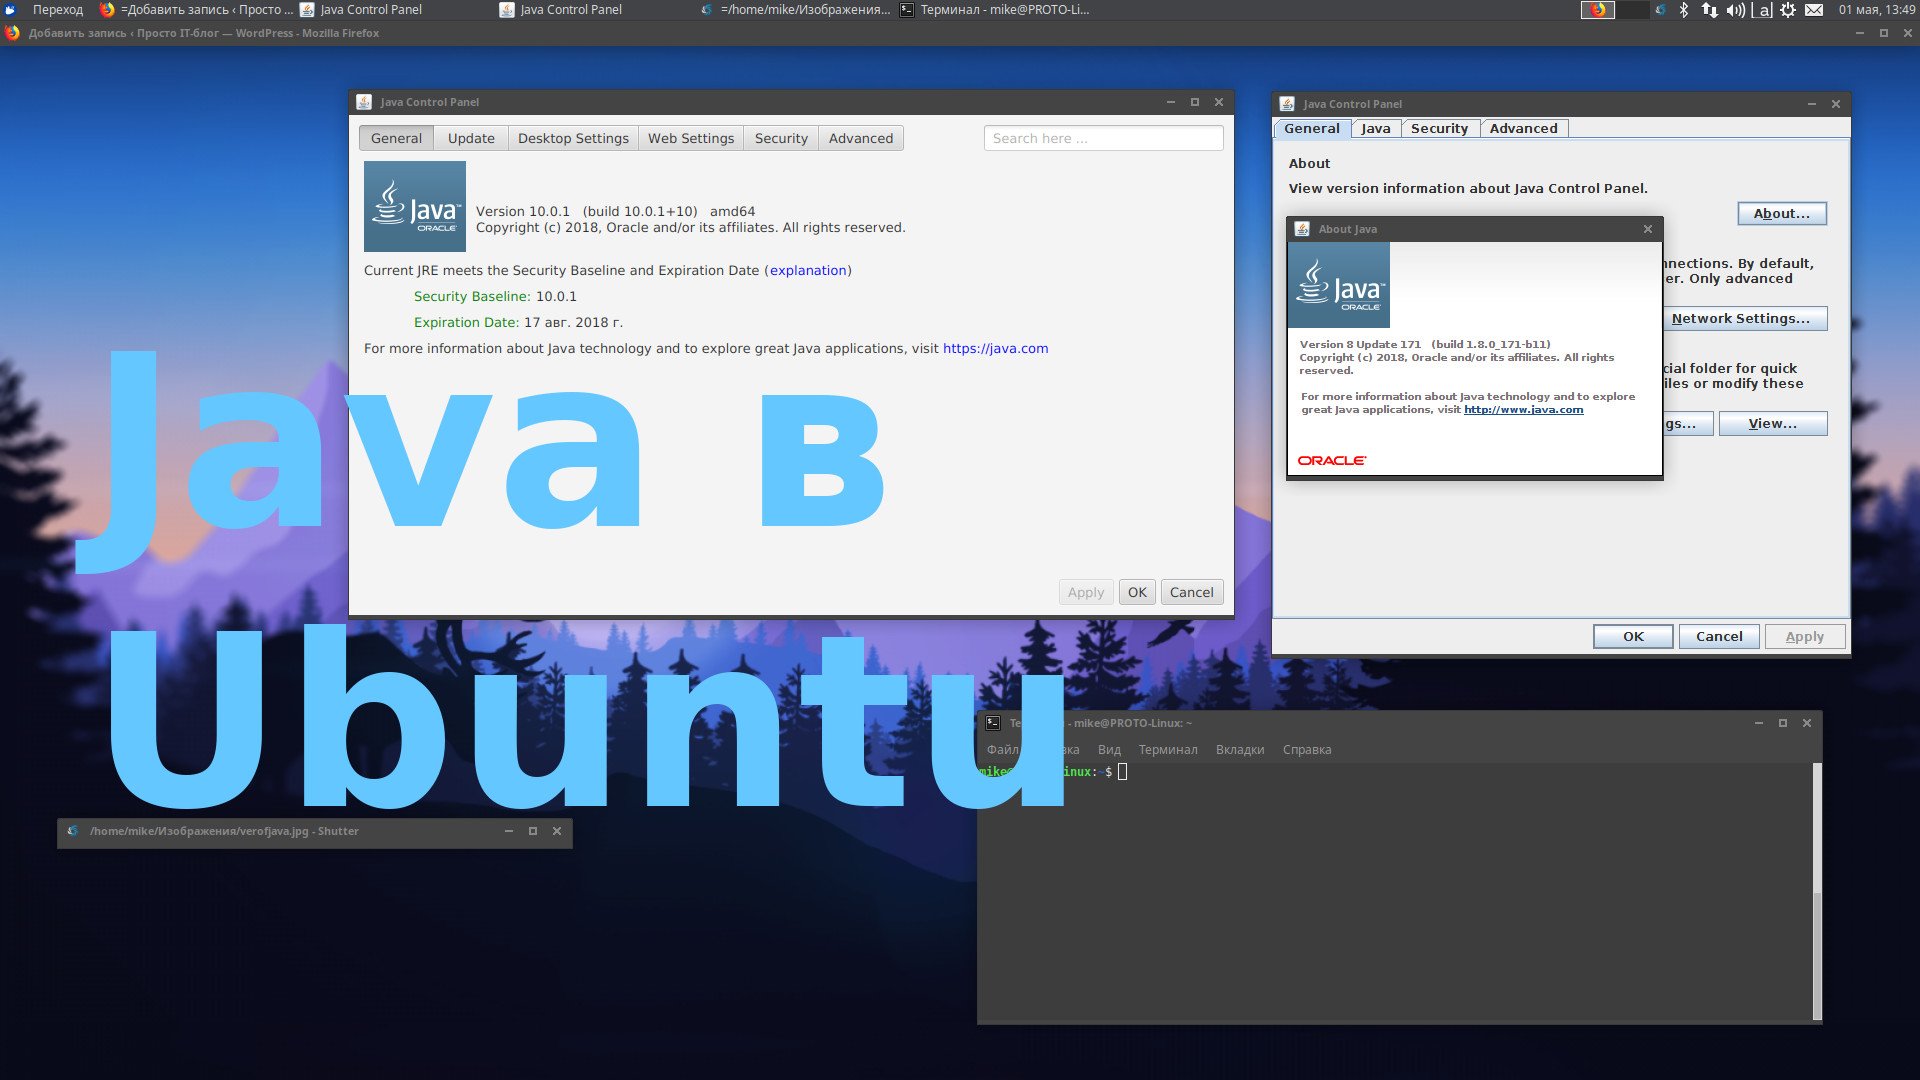
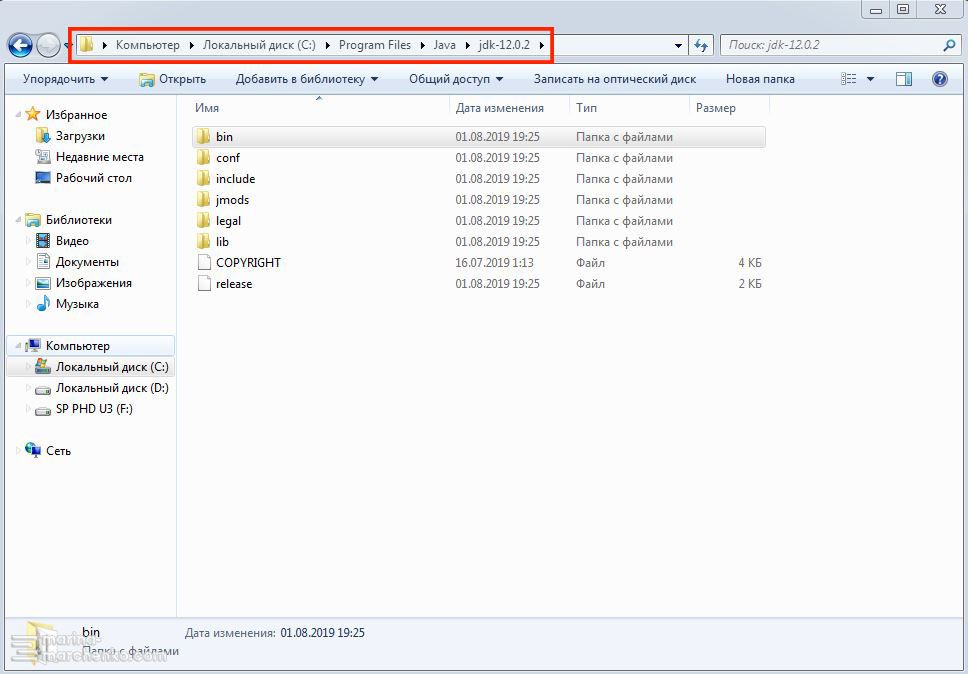
Как исправить ошибку Java в Майнкрафт
Стоит отметить, что проблема с уведомлением о сбое «Прекращена работа программы Java(TM) Platform SE binary», появляется не только в Minecraft, поэтому мы собрали как советы по решению сбоя в игре, так и в других приложениях.
Видеокарта
Чаще всего проблема возникает из-за графического движка в игре. Поэтому вот несколько советов по настройкам:
Дополнительные советы по настройкам видеокарты:
- Обновите драйвера на вашем ПК. Конкретно вам нужны драйвера видеокарты. Это можно сделать через системную опцию, либо применить тот же Driver Pack Solution.
- Ошибка возможна из-за конфликта со встроенной видеокартой. Для этого её следует отключить и перезагрузить ПК. Вот пояснения на видео.
- После того, как вы нажимаете «Закрыть программу», появляется MineCraft Launcher. Внизу этого лаунчера есть кнопка New Profile (Новый профиль) — кликайте по нему. Пропишите новое имя (Profile Name), а ниже, в Java Settings, проверьте путь к исполняемому файлу. Если в конце указано javaw.exe, тогда удалите букву W. Сохраните профиль и пробуйте запуститься.
- Переустановите моды и дополнительные расширения к игре. Часто они являются источником проблемы.
- Отключите экраны антивируса на время загрузки и пробуйте запуститься.
- Переустановите Майнкрафт.
Дополнительные методы устранения ошибки
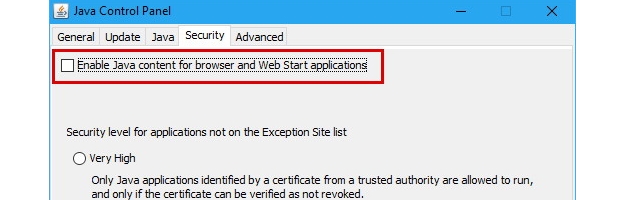
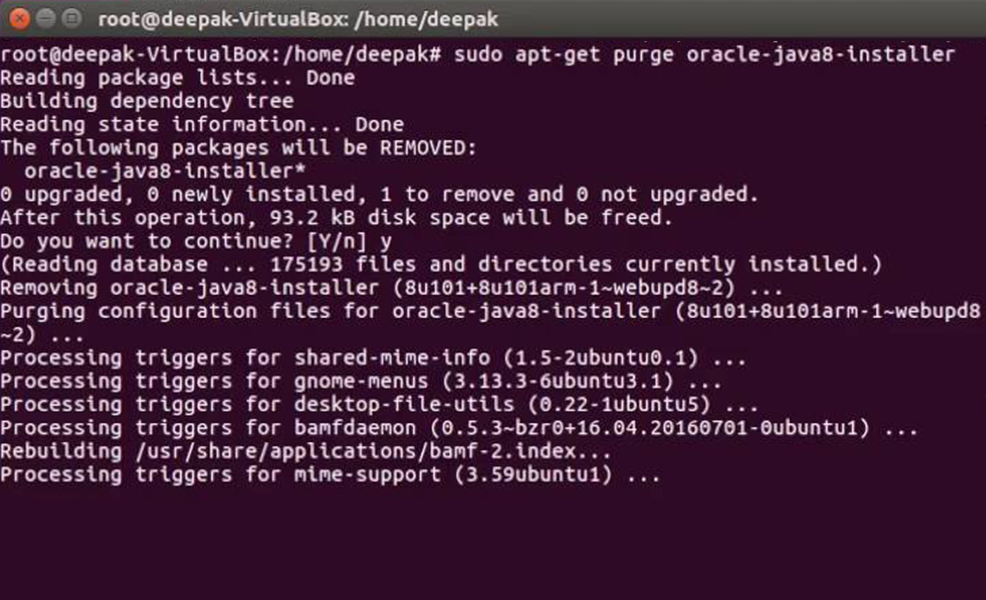
Если программное обеспечение, при запуске которого появляется ошибка, было скачано со сторонних ресурсов, варезных сайтов, торрент-трекеров, то его действия часто блокируют антивирусы. Чтобы избежать такой преграды при запуске вам необходимо проверить список карантина антивируса и, если в нем имеются игры или программы, вы можете их удалить с этого списка. Но будьте осторожны при этом. Ведь такое ПО может действительно нести угрозу для системы. Если вы полностью уверенны в программе или игре, вы можете добавить ее в список исключений. В таком случае антивирус перестанет «подозревать» такое ПО.
![]()
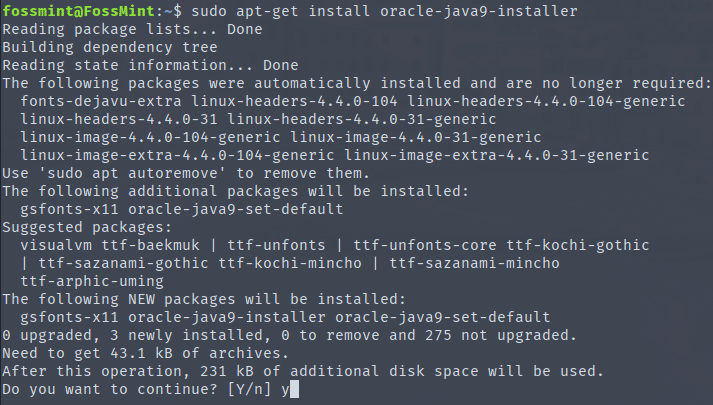
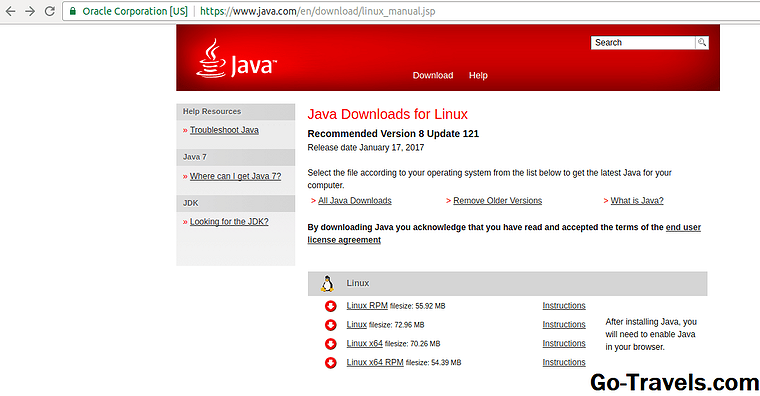
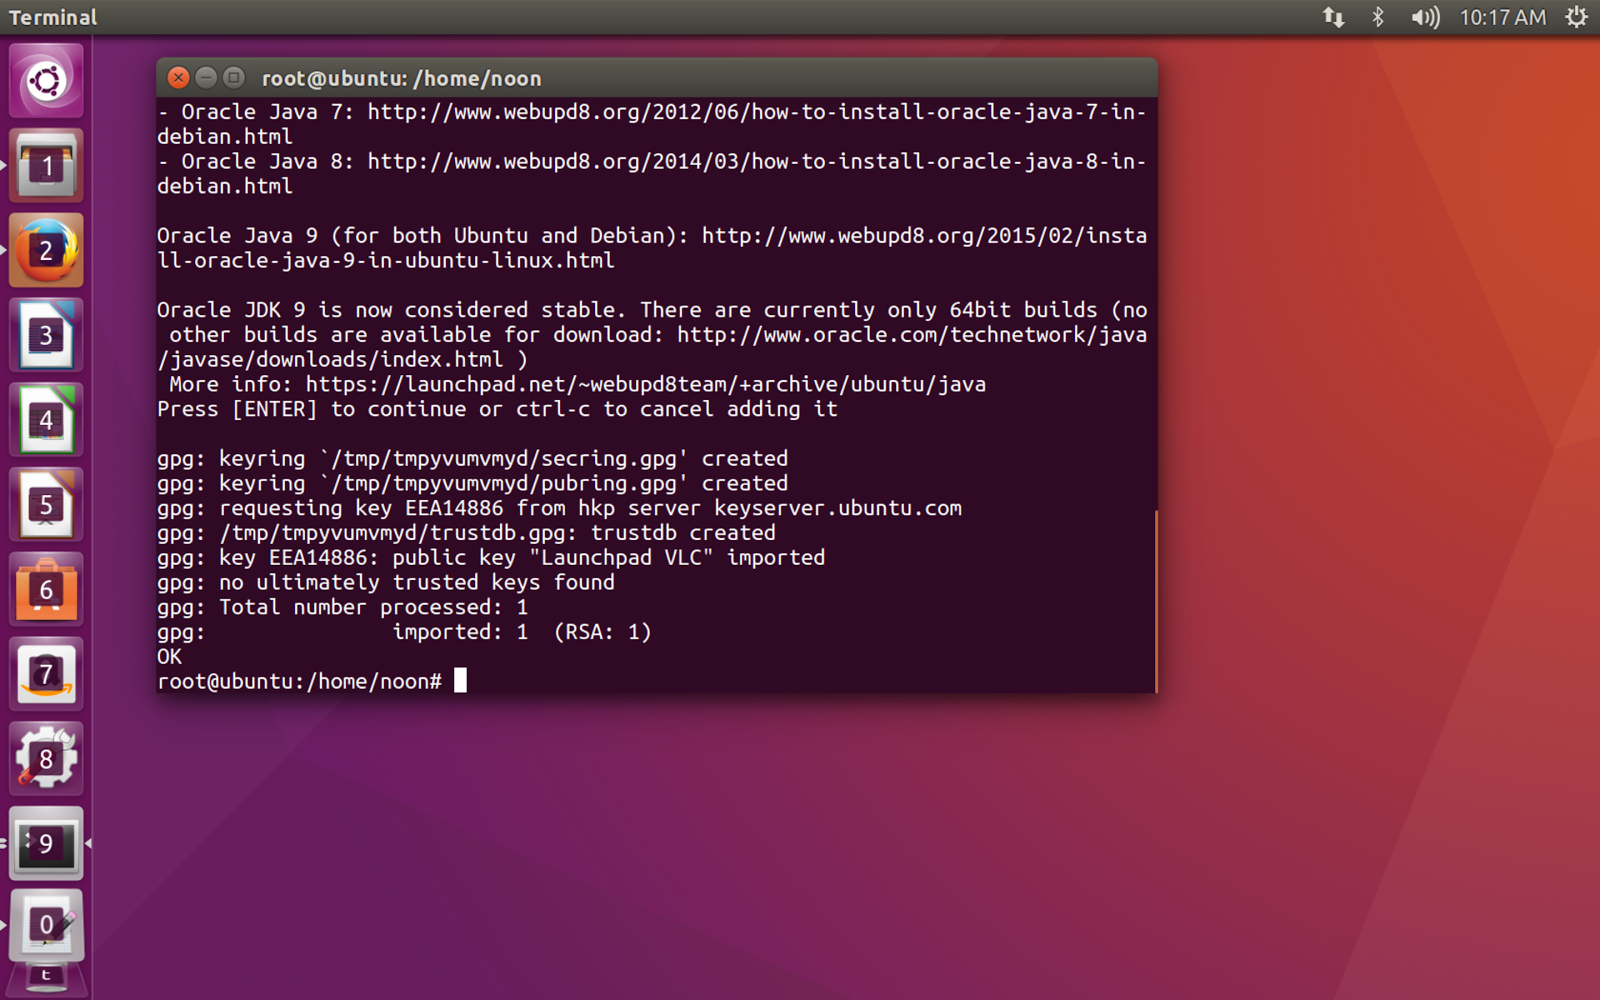
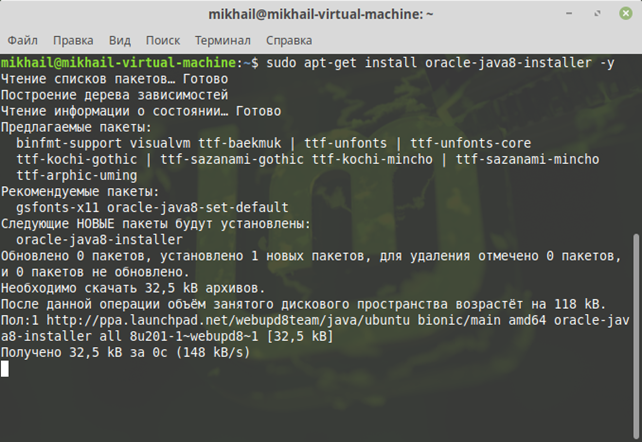
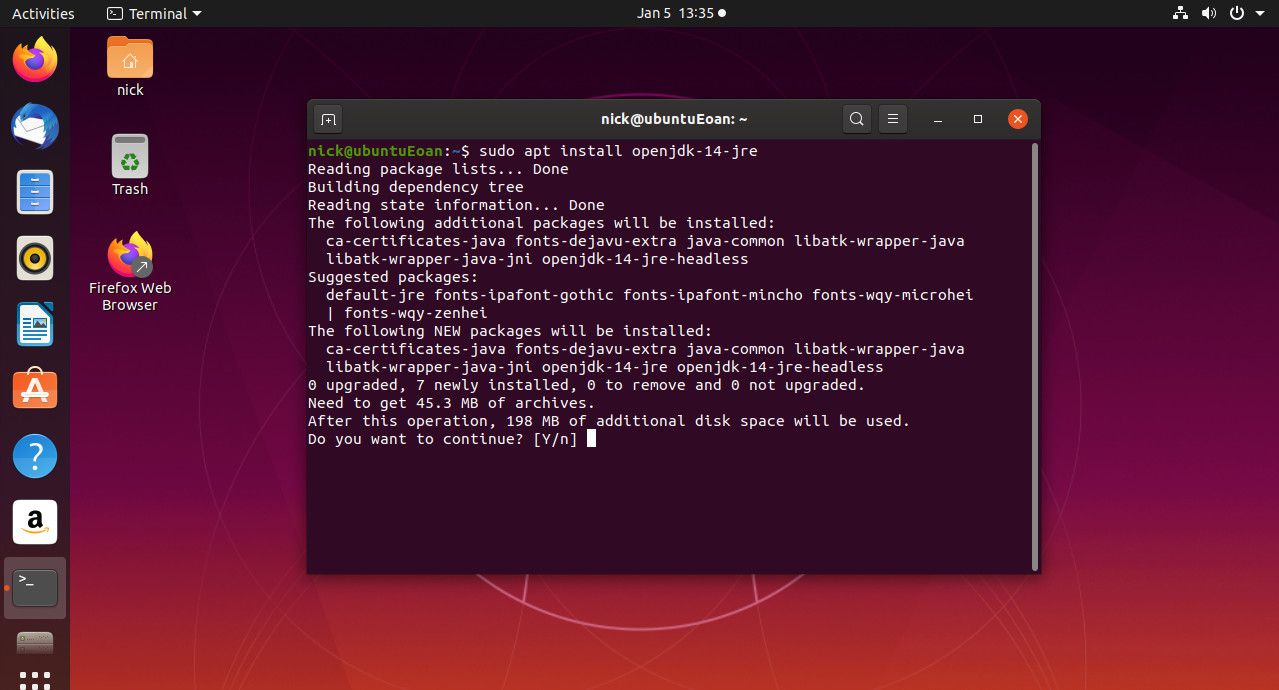
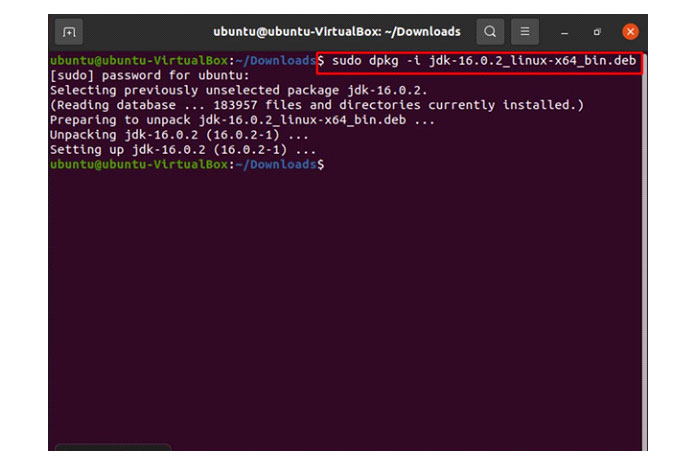
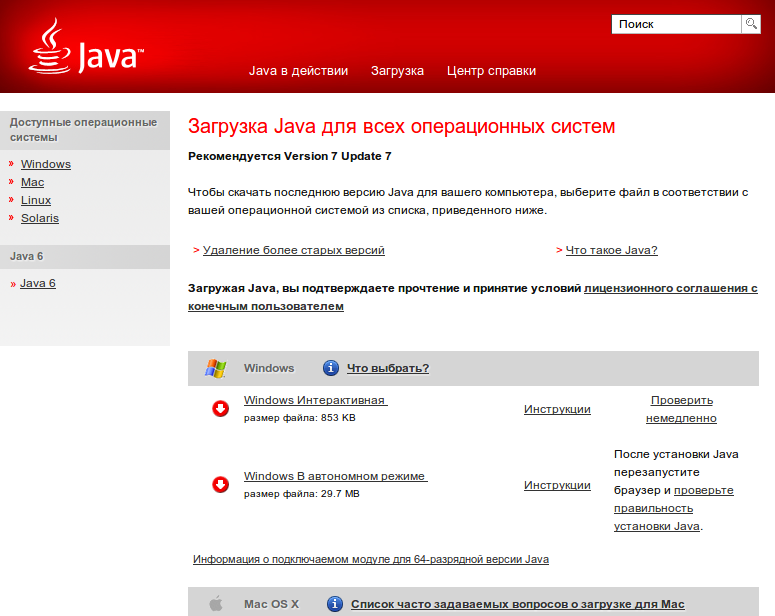
Загрузка пакета ПО Java
После этого будет загружен пакет данных, который нужно будет установить на свой ПК.
Объяснение «Java Error Code 2»
Как правило, специалисты по ПК называют «Java Error Code 2» как тип «ошибки времени выполнения». Когда дело доходит до программного обеспечения, как Java, инженеры могут использовать различные инструменты, чтобы попытаться сорвать эти ошибки как можно скорее. Тем не менее, возможно, что иногда ошибки, такие как ошибка 2, не устранены, даже на этом этапе.
«Java Error Code 2» может возникнуть у пользователей Java даже при нормальном использовании приложения. После того, как об ошибке будет сообщено, Oracle Corporation отреагирует и быстро исследует ошибки 2 проблемы. Затем Oracle Corporation будет иметь знания, чтобы исследовать, как и где устранить проблему. В результате разработчик может использовать пакеты обновлений для Java, доступные с их веб-сайта (или автоматическую загрузку), чтобы устранить эти ошибки 2 проблемы и другие ошибки.
Способ 2. Освобождаем оперативную память ПК
Следующий метод устранения ошибки заключается в освобождении оперативной памяти вашего компьютера. Как уже было сказано, ошибка может возникать по причине недостатка памяти. Чтобы ее освободить, нужно закрыть все ненужные программы, а также «убить» все лишние процессы. Ведь каждая программа нуждается в определенном количестве этого ресурса. На официальном сайте Майкрософт вы можете ознакомиться со всеми важными процессами Windows, прекращение которых повлечет за собой сбои системы. Чтобы остановить лишние процессы:
-
- Нажмите сочетание клавиш CTRL+SHIFT+ESC для Windows 7,8,10. CTRL+ALT+DEL – для Windows XP.
-
Откроется окно со списком запущенных программ и процессов на вашем ПК.
Чтобы закрыть программу или остановить процесс, нужно выделить мышью название программы или процесса, затем нажать на кнопку внизу окна «Снять задачу».
Некоторые запущенные фоновые программы не отображаются в списке, но их можно увидеть в списке процессов. Эта разнообразные модули обновлений, они работают в фоновом режиме и следят за выходом новых версий определенных программ. Они также потребляют оперативную память. Вашей задачей будет отыскать такие процессы и остановить для решения текущей проблемы. Когда вы очистите память и остановите все ненужные программы и процессы, попробуйте запустить снова игру, чтобы убедиться, что окно с ошибкой «Could not create the Java Virtual Machine» уже не появляется.
Why am I getting Could not create Java Virtual Machine?
The following are some of the possible causes that you should pay attention to:
- Memory size issues – The Java Virtual Machine error often arises when Java needs a larger global maximum heap memory size. The problem was resolved by users increasing the maximum RAM allotted to Java.
- Incorrect path settings – In this case, you just need to set or modify your path, as described below.
- Corrupted files – Such files may contribute to this error, so note that a reinstallation of Java should fix this. This applies to those encountering Windows error 2 while loading the Java VM error message as well.
Do I need to install JVM?
Any machine on which you want to run Java code must have the Java Runtime Environment (JRE) installed. This is because Java does not run natively on a computer as C++ or C does; instead, someone must translate Java’s instructions into machine code, which the JVM does.
This error may come in different shades including Could not create the Java Virtual Machine in Android Studio, Docker, Pentaho, Elasticsearch, Sonarqube, Minecraft, Eclipse, React Native, and IntelliJ yet rest assured that you’ll find our solutions useful.
Could not create the Java Virtual Machine
Now let’s take a closer look at them:
1] Add a new system variable for Java
To fix this error, you must add a new variable to Java’s system and see if it solves the error. Please follow the steps below to resolve this issue:
- Right-click on the Start menu and select Run from the menu list.
- Type sysdm.cpl in the search box and click the OK button.
- Go to the Advanced tab and select Environment Variables at the bottom.
- Under the System variables section, click on the New button.
- On the next screen, type _JAVA_OPTIONS in the Variable name field.
- You will then need to input –Xmx512M in the Variable value box.
- Now click on the OK button to apply the changes.
Below you can find a detailed explanation of the above steps:
To get it started, open the System Properties window first. This can either be done through the Run dialog box or the File Explorer.
So, press the Windows + R keyboard shortcut to launch the Run command. Then type sysdm.cpl in the search box and click the OK button.
Alternatively, open the File Explorer using Windows + E keyboard shortcut. Then right-click on This PC and select the Properties option from the context menu.
Inside the System Properties window, select Environment Variables at the bottom of the Advanced tab.
Then click on the New button in the System variables section.
You will now need to type _JAVA_OPTIONS in the Variable name field. To set a variable, you will need to enter –Xmx512M in the Variable value text box. By doing this, the RAM allocation will increase to 512 megabytes.
Once you have made your changes, click OK to save them. Also, click OK on the Environmental window.
2] Run the program as an administrator
According to the reports, some users could able to solve this error when they open the Java executable file with administrative privileges. The following steps will guide you through doing this:
- Press Windows key + Q keyboard shortcut.
- Type Java in the search box.
- Right-click on Java and select Open file location from the context menu.
- On the next page, right-click on Java executable file and select the Properties option.
- When the Java Properties window opens, switch to the Compatibility tab.
- Under the Settings section, mark the checkbox next to the Run the program as an administrator.
- Click on the Apply and then hit the OK button to save changes.
- Now close the File Explorer window.
When you have finished all the steps above, restart your computer and see if the problem has been resolved now.
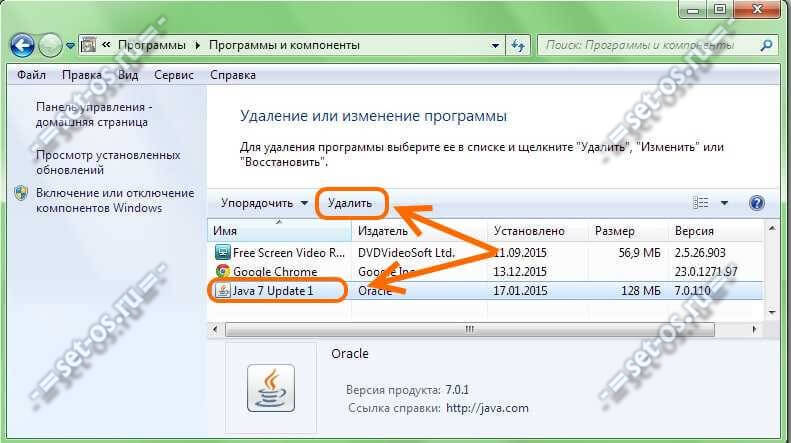
3] Uninstall & Reinstall the Java application
You could reinstall the Java JRE application. However, before we go down that road, it makes a lot of sense to uninstall the program first. Do this by pressing the Windows key + I to fire up the Settings menu, then go to Apps > Apps & Features. Scroll down until you’ve come across the Java program, then click on the three-dotted button, and be sure to select Uninstall to remove it.
In terms of reinstalling the app, you must visit the official Jave Runtime Environment page, and download it for your Windows 11 computer. Once you’re done, install the tool then restart your computer. From there, go ahead and check if Could Not Create The Java Virtual Machine is still showing up.
That’s it. Hopefully, one of these solutions will work for you!
What is the cause behind the Could not create the Java Virtual Machine error?
The cause for this error on Windows 11/10 varies quite a lot. For example, if you are running a homebrew Java application, then maybe it is being invoked by the wrong options. Alternatively, the Java application you’re trying to open could fail if the heap memory size is larger than the System Variable size.
What is Virtual Machine error in Java?
This error indicates that the Java Virtual Machine is not working properly, or no longer has enough resources to for it continue operating.
Related:
- How to manually enable the latest Java version on Windows systems
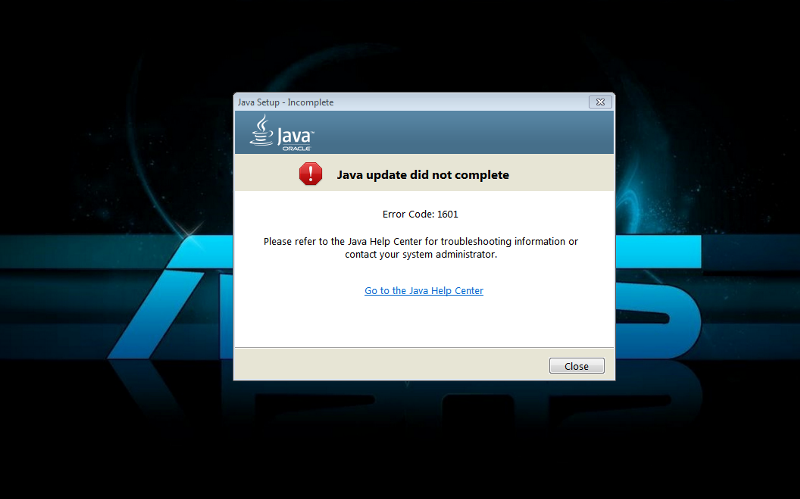
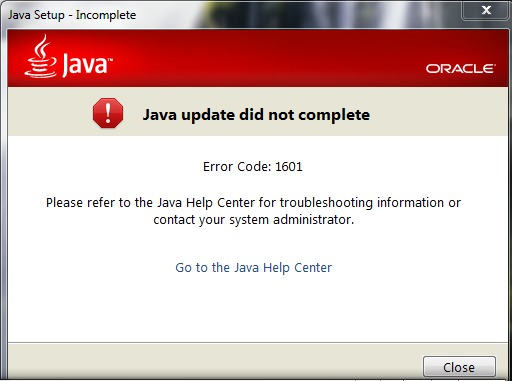
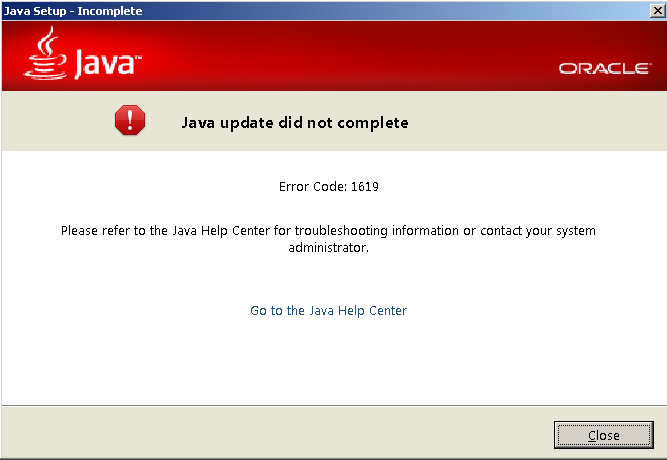
- Java Install or Update did not complete – Error Code 1603
Причины возникновения ошибки Джава
Чаще всего на появление данной ошибки жалуются игроки Minecraft. При клике на лаунчер и очередной запуск любимой игры, пользователи сталкиваются с окном ошибки Could not create the Java Virtual Machine. Это происходит из-за того, что в предыдущий раз сессия игры была прекращена некорректно. Возможно вы не дождались полного завершения игры и выключили устройство.
Ошибка JVM при запуске игр и приложений может также возникать по причине недостатка оперативной памяти на вашем устройстве. Для работы виртуальной машины Java требуется определенное количество выделенной памяти компьютером. Для компьютера это очень ценный ресурс, чем этой памяти больше, тем быстрей и лучше процессор справляется с поставленными задачами.
4 Solutions to Solve Java Virtual Machine Launcher Error
Remove Malware on your computer
If the error message is shown is this- “Error Message: Java Virtual Machine Launcher could not find the main class: the program will now exit” then the Microsoft Malicious Software Removal tool, which is an inbuilt utility tool in Microsoft can be used to remove any Malware from your computer.
To access this tool, go to the Search Windows option in your Start menu and type “mrt” and press Enter. In The tool, choose the option for “Full Scan” and follow the on-screen wizard to start the scan. The scan may take a few moments to complete and in the process will also remove all the Spyware, Adware and Malware on your computer. Reboot your computer once the scan is complete.
Now using the System Configuration tool on your computer the rest of the problem. To launch this, you need to type “msconfig” in the Search Windows option that you can find in the Start Menu. In this utility tool, click the “Startup” tab, which opens a long list. Scan the list to find the following- “WJView.exe” and “javaw.exe.” and uncheck these options.
See also: – Failed To Enumerate Objects in the Container
Uninstalling Java and re-installing
As the heading suggests, this solution involves uninstalling the problematic Java Virtual Machine launcher from your computer and then installing it afresh. This is a quite primitive but effective solution to Java Virtual Machine launching problems when the error message shows- “Error Message: Error opening registry key.”
Before uninstallation, open the Windows\system32 and delete the following files- ‘javaws.exe’, ‘java.exe’, ‘javaw.exe’ and any other Java executable file that you can find. For uninstalling JVM, open the ‘Programs and Features’ tab in the Control Panel of your desktop. Scroll down the list to find Java runtime and uninstall it.
For re-installing Java runtime, visit java.com: Java + You and download the most compatible version. Choosing the correct version is very important as an incompatible version of Java Runtime is one of the biggest reasons for the error.
Clearing Computer Memory
One of the most frequent reasons for the Java Virtual Machine launcher problems is insufficient memory in your COMPUTER. This insufficiency may be in your overall computer memory or in the amount of memory you allocate to Java Runtime. To solve the former, just get rid of all those programs that you don’t use, and you will have a clutter-free (and hopefully a problem-less) computer.
When Java has allocates insufficient memory space, then the error that comes is- “Error Message: Could not create the Java Virtual Machine.” This is one of the most common Java Virtual Machine Launcher errors that you encounter during playing games on Java like Minecraft.
To solve the memory space allocated to Java, go to the Systems options in Control Panel and open the Advanced options window. Here, clicking on the Environment Variables option, you will find a ‘System Variables’ option. Click on the ‘New’ variable option and put the name of the variable as ‘_JAVA_OPTIONS’ with a value of ‘Xmx512M’. (Xmx refers to the maximum space and Xms refer to the minimum space that you can allocate to Java)
See also: – Top 4 Best Virtual Machine Applications for Windows 10 – TechWhoop
Miscellaneous Fix
This solution is for the Java Virtual Machine Launcher error prompt- “Error Message: Unable to access jarfile.” Which comes when trying to open some java based applications. Start by opening the ‘Default Programs’ tab from the Start Menu. Scan the list to find an option called- ‘Associate a file type or protocol with a program’ and select it.
There will be an extension ‘.jar’- Click on this and change the default program to ‘JAVA virtual machine launcher’. Clicking on ‘Close’ will save the changes. Try reopening the program that was earlier causing the problem.
Распространенные сообщения об ошибках в Java Error Code 2
Наиболее распространенные ошибки Java Error Code 2, которые могут возникнуть на компьютере под управлением Windows, перечислены ниже:
- «Ошибка приложения Java Error Code 2.»
- «Ошибка программного обеспечения Win32: Java Error Code 2»
- «Извините за неудобства — Java Error Code 2 имеет проблему. «
- «К сожалению, мы не можем найти Java Error Code 2. «
- «Java Error Code 2 не найден.»
- «Ошибка запуска программы: Java Error Code 2.»
- «Не удается запустить Java Error Code 2. «
- «Ошибка Java Error Code 2. «
- «Java Error Code 2: путь приложения является ошибкой. «
Эти сообщения об ошибках Oracle Corporation могут появляться во время установки программы, в то время как программа, связанная с Java Error Code 2 (например, Java) работает, во время запуска или завершения работы Windows, или даже во время установки операционной системы Windows. Выделение при возникновении ошибок Java Error Code 2 имеет первостепенное значение для поиска причины проблем Java и сообщения о них вOracle Corporation за помощью.
Эпицентры Java Error Code 2 Головные боли
Проблемы Java и Java Error Code 2 возникают из отсутствующих или поврежденных файлов, недействительных записей реестра Windows и вредоносных инфекций.
Более конкретно, данные ошибки Java Error Code 2 могут быть вызваны следующими причинами:
- Недопустимые разделы реестра Java Error Code 2/повреждены.
- Вирус или вредоносное ПО, которые повредили файл Java Error Code 2 или связанные с Java программные файлы.
- Вредоносное удаление (или ошибка) Java Error Code 2 другим приложением (не Java).
- Другое приложение, конфликтующее с Java Error Code 2 или другими общими ссылками.
- Java (Java Error Code 2) поврежден во время загрузки или установки.
Продукт Solvusoft
Совместима с Windows 2000, XP, Vista, 7, 8, 10 и 11
Устраняем ошибку Java Virtual Machine Launcher
Рассмотрим самый распространенный способ устранения ошибки «Could not create the Java Virtual Machine» – создание новой переменной среды.
- Нажмите правой кнопкой по иконке «Мой компьютер» и выберите из контекстного меню «Свойства».
Выберите «Свойства» - В следующем окне в блоке слева выберите пункт «Дополнительные параметры».
Дополнительные параметры
- Далее найдите внизу окна кнопку «Переменные среды».
Нажмите «Переменные среды»
- Под списком переменных нажмите кнопку «Создать».
Создайте переменную
- Введите в первой строке «Имя переменной» – «_Java_Options», а напротив строки «Значение переменной» – значение «-Xmx512M» и подтвердите действия, нажав кнопку «Ок». Перезагрузите компьютер и попробуйте снова сделать те же действия, которые привели к ошибке.
Что генерирует ошибку времени выполнения 2?
Ошибки выполнения при запуске Java — это когда вы, скорее всего, столкнетесь с «Java Error Code 2». Вот три наиболее заметные причины ошибки ошибки 2 во время выполнения происходят:
Ошибка 2 Crash — это распространенная ошибка 2 во время выполнения ошибки, которая приводит к полному завершению работы программы. Обычно это происходит, когда Java не может обрабатывать предоставленный ввод или когда он не знает, что выводить.
Утечка памяти «Java Error Code 2» — ошибка 2 утечка памяти приводит к тому, что Java постоянно использует все больше и больше памяти, увяская систему. Критическими проблемами, связанными с этим, могут быть отсутствие девыделения памяти или подключение к плохому коду, такому как бесконечные циклы.
Ошибка 2 Logic Error — логическая ошибка возникает, когда компьютер производит неправильный вывод, даже если вход правильный. Это видно, когда исходный код Oracle Corporation содержит недостаток в обработке данных.
Основные причины Oracle Corporation ошибок, связанных с файлом Java Error Code 2, включают отсутствие или повреждение файла, или, в некоторых случаях, заражение связанного Java вредоносным ПО в прошлом или настоящем. Для устранения неполадок, связанных с файлом Oracle Corporation, большинство профессионалов ПК заменят файл на соответствующую версию. Кроме того, регулярная очистка и оптимизация реестра Windows предотвратит создание неправильных ссылок на пути к файлам Oracle Corporation, поэтому мы настоятельно рекомендуем регулярно выполнять сканирование реестра.
How can I fix Could not create the Java Virtual Machine error?
1. Set up a new system variable for Java
- Open Run with the Windows key + R keyboard shortcut, then enter sysdm.cpl in Run and click OK.
- Select the Advanced tab on that window, and click the Environment Variables button.
- Click the New button under the System variables box.
- Enter _JAVA_OPTIONS in the Variable name text box.
- Then, enter –Xmx512M in the Variable value text box, which increases RAM allocation to 512 megabytes.
- Click the OK button to close the window, then press the OK button on the Environmental window.
2. Select the Run as administrator option for Java
- Press the Windows key + S keyboard shortcut, and enter Java, then right-click Java and select Open file location to open Java’s folder in File Explorer.
- Right-click java.exe and select Properties.
- Select the Compatibility tab.
- Select the Run this program as an administrator option.
- Select the Apply option, and click OK to close the window.
Expert tip:
SPONSORED
Some PC issues are hard to tackle, especially when it comes to corrupted repositories or missing Windows files. If you are having troubles fixing an error, your system may be partially broken. We recommend installing Restoro, a tool that will scan your machine and identify what the fault is.Click here to download and start repairing.
The Java virtual machine error can also be due to insufficient admin rights. Thus, some users might need to assign admin rights to Java.
3. Reinstall Java
- First, open the Run accessory by pressing the Windows key + R.
- Type the command below and hit Enter.
- Select Java from the program list and click Uninstall.
- Click Yes on any confirmation window that opens.
- Thereafter, restart Windows, open the Java download page in a browser, and download either the 32 or 64-bit offline Windows versions.
- Users need 32-bit Java for 32-bit programs and 64-bit Java for 64-bit software. If in doubt, your best bet is to download and install both Java versions.
- Thereafter, open the Java setup wizard, and click the Install button on the setup wizard.
So, that’s how users can fix the Java virtual machine fatal error and get back to running the required Java software.
Any of the previously mentioned solutions may be successfully applied when getting a Java virtual machine launcher error which arises even if nothing has changed on your computer, and it’s most likely related to Java installation.
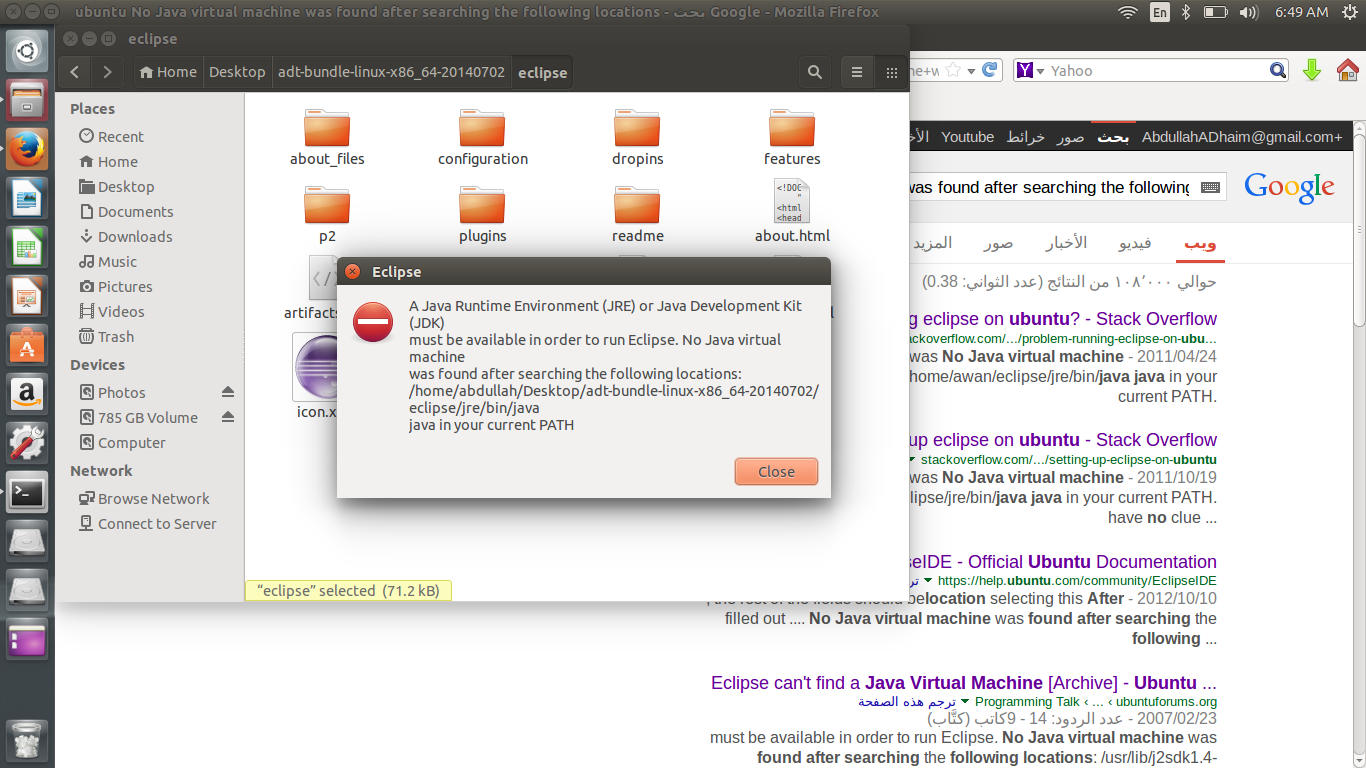
Things are no different when it comes to the Could not create the Java virtual machine a fatal exception has occurred error. This problem also seems to appear randomly. Make sure you aren’t using a 32-bit VM and a 64-bit Eclipse.
Minecraft could not create the Java virtual machine is an error that shows up when trying to launch Minecraft. The main reason is that it needs admin access in order to function properly.
If you have any other questions or if you have advice for other users to try, don’t hesitate to leave a comment below.
Was this page helpful?
4
MyWOT
Trustpilot
Thank you!
Not enough details
Hard to understand
Other
x
Contact an Expert
There are 5 comments
Заключение
Я посетил все существующие вопросы, связанные с моим вопросом, но у меня все еще есть проблема. Все установки установлены правильно. Я использую новейшую версию Netbeans. После выполнения программы у меня есть эта ошибка:
Error: Could not create the Java Virtual Machine. Error occurred during initialization of VM Could not reserve enough space for object heap Error: A fatal exception has occurred. Program will exit.
И мой Netbeans.conf:
# $ will be replaced by JVM user.home system property netbeans_default_userdir=»$/.netbeans/7.1.2″ # Options used by NetBeans launcher by default, can be overridden by explicit # command line switches: netbeans_default_options=»-J-client -J-Xss2m -J-Xms16m -J-XX:PermSize=16m -J-Dapple.laf.useScreenMenuBar=true -J-Dapple.awt.graphics.UseQuartz=true -J-Dsun.java2d.noddraw=true -J-Dsun.zip.disableMemoryMapping=true» # Note that default -Xmx and -XX:MaxPermSize are selected for you automatically. # You can find these values in var/log/messages.log file in your userdir. # The automatically selected value can be overridden by specifying -J-Xmx or # -J-XX:MaxPermSize= here or on the command line. # If you specify the heap size (-Xmx) explicitly, you may also want to enable # Concurrent Mark & Sweep garbage collector. In such case add the following # options to the netbeans_default_options: # -J-XX:+UseConcMarkSweepGC -J-XX:+CMSClassUnloadingEnabled J-XX:+CMSPermGenSweepingEnabled # (see http://wiki.netbeans.org/FaqGCPauses) # Default location of JDK, can be overridden by using —jdkhome : netbeans_jdkhome=»C:Arquivos de programasJavajdk1.7.0_07″ # Additional module clusters, using $ («;» on Windows or «:» on Unix): #netbeans_extraclusters=»/absolute/path/to/cluster1:/absolute/path/to/cluster2″ # If you have some problems with detect of proxy settings, you may want to enable # detect the proxy settings provided by JDK5 or higher. # In such case add -J-Djava.net.useSystemProxies=true to the netbeans_default_options.
Что мне делать? Я пытался решить эту ошибку весь день. Моя системная память — 3Gb.
Не удалось зарезервировать достаточно места для кучи объектов
Это почти всегда означает, что ваш -Xmx слишком высок для машины. Появляется сообщение выше:
# Обратите внимание, что по умолчанию -Xmx и -XX: MaxPermSize автоматически выбираются
Попробуйте указать явное значение, начните с малого
Обратите внимание, что -Xms должно быть меньше или равно -Xmx. Я получил ту же ошибку при запуске Netbeans
Я получил ту же ошибку при запуске Netbeans
Error: Could not create the Java Virtual Machine. Error: A fatal exception has occurred. Program will exit.
Я пытаюсь перезапустить Netbeans много раз. Такая же ошибка повторялась. Позже я обнаружил, что это происходит, поскольку какое-то другое приложение уже использует JVM . Поэтому я искал такое приложение, которое было Tomcat Server . Я закончил Tomcat и снова попытался запустить Netbeans , и все было в порядке. Поэтому попробуйте найти любое приложение, использующее JVM .
У нас есть пара решений для вышеуказанной задачи
Решение 1: Вы можете переустановить все компоненты. т.е. означает, что вы установили весь файл s/w. для ошибки: не удалось создать виртуальную машину Java.
Решение 2: максимальный размер кучи изменяется в зависимости от архитектуры машины, например. 32 бит или 64 бит, размер бита JVM, например. 32-разрядная JVM или 64-разрядная JVM и операционная система.
В 32-битной машине, хотя теоретический предел максимального размера кучи составляет 4 ГБ, он зависит от операционной системы от операционной системы, например. на 32-битных Windows XP максимальный размер кучи до 1.5G по разным причинам, в то время как на 64-битной машине Solaris даже с 32-разрядной JVM вы можете позволить себе около 3,5 ГБ. Поэтому, когда вы запускаете следующую команду java в 32-разрядной машине Windows XP
Решение 3. Еще одна заслуживающая внимания синтаксическая ошибка при предоставлении пространства кучи — это пробел между числовым литералом и единицей, как показано ниже: