
Определяем источник проблемы
- Смартфон китайского производителя. Дело в том, что Google не сертифицирует устройства, которые изготовлены «подвальными производителями». С другой стороны, с этого начинали многие производители. Суть в том, что если вы купили телефон за 50$ на Алиэкспресс, скорее всего, вы увидите ошибку 403. Более того, часто в такие смартфоны вообще не устанавливают сервисы от Google. Если ваша проблема в этом — решение есть — о нем в первом пункте следующего раздела.
- Вы в посетили Крым. Лето, пляж и любимые Крымские ночи — это все хорошо, но! Дело в том, что начиная с 2014 года на Крым обрушился шквал санкций. Наиболее явные из них для пользователей — ошибка 403 в плей маркет в Р. Крым. Google видит, что сейчас вы пытаетесь скачать что-то находясь на данной территории и ввиду санкций запрещает это вам сделать. И несмотря на то, что некоторые смартфоны на базе Андроид официально продают на этом полуострове, Google выполняет законы своей страны, иначе это может дорого стоить компании. В любом случае, мы знаем, как исправить ошибку 403 в Крыму в плей маркете. Об этом во втором пункте следующего раздела.
- Вы ушли в минус по балансу. Редко, но бывает, что некоторые пользователи Android используют встроенные покупки. У вас привязанная карта Google Pay и вы случайно ушли в минус. Например, вы играли в Асфальт 8 и решили купить игровой предмет. На счету у вас не было средств и теперь у вас задолженность. Думаю, решение очевидно. Данный пункт актуален, если к вам не относятся перечисленные выше пункты.
- Старая система. Часто вижу, как люди все еще используют устройства на базе Андроид 2.2. Это морально устаревшие смартфоны, пора от них избавляться. При попытке что-то скачать, вам предложат обновиться или сошлются на ошибку 403. Выход есть, он универсальный. Как исправить ошибку 403 в этом случае — смотрим ниже.
- Вы подхватили вирус. Любите качать платные программы бесплатно? Многие не думают, что взломанные программы могут содержать код, который не только вредит устройству, но и отправляет ваши личные данные, записи с камеры и т.д. И одна из проблем — ошибка 403 при обновлении приложений в официальном магазине Google.
Определите причину, чтобы выбрать наиболее правильный вариант решения для вашей ситуации. Есть универсальные способы, как исправить ошибку 403 на андроиде в плей маркете, и более точечные. Поговорим о них в следующем разделе.
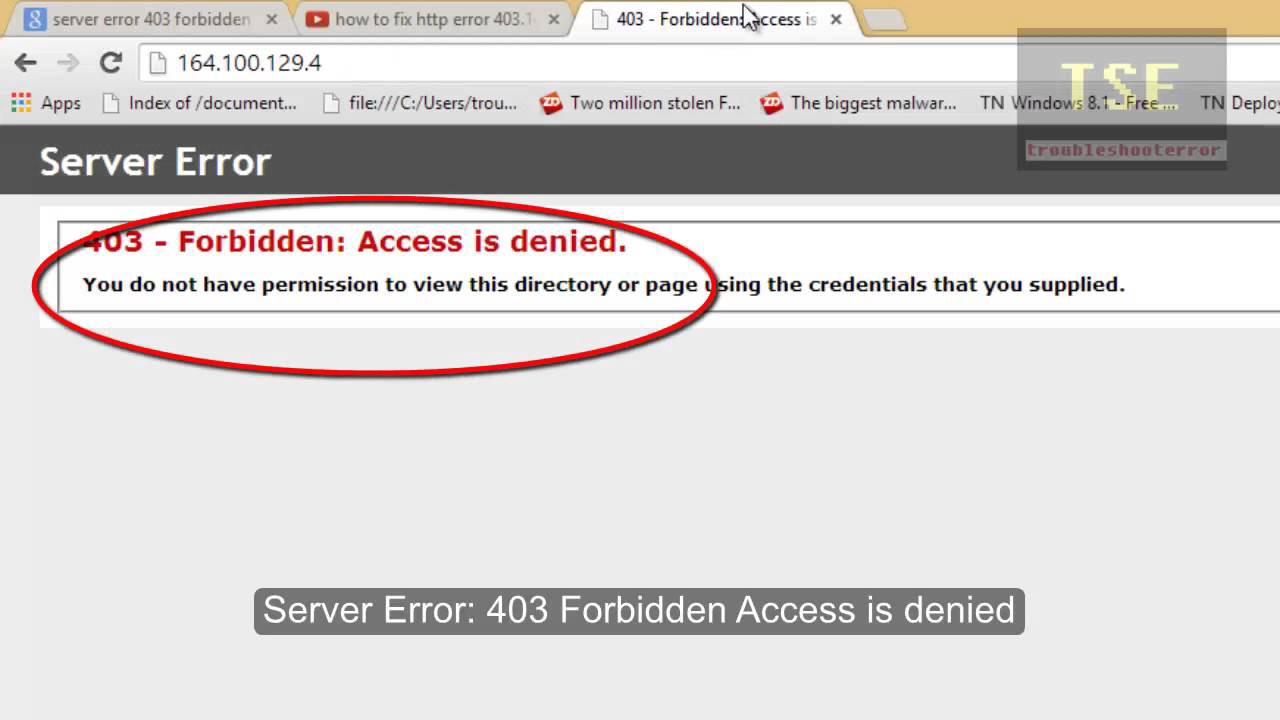
О чем свидетельствует «ошибка 403»
Ошибка доступа 403 Forbidden — это сообщение, которое возвращает сервер в ответ на запрос к странице, доступ к которой ограничен. Это может свидетельствовать о двух наиболее распространенных причинах. Первая — владельцы сервера или же сайта установили такое ограничение намеренно, с целью ограничения доступа к странице с конфиденциальной информацией, ссылка на которую могла попасть к вам случайно или вследствие утечки. Второе — владелец ресурса случайно установил запрет доступа.
Причины возникновения ошибки доступа 403
Ошибка 403 означает отсутствие прав доступа, то есть 403 ошибка говорит вам о том, что у вас недостаточно прав к тому ресурсу, куда вы хотите зайти.
Если говорить про сайт, то вы вводите URL-сайта, и в итоге видите 403 ошибку, которая говорит вам о том, что у вас нет прав доступа к сайту.
Ошибка может появиться в следствие:
- Неверно настроенных прав доступа в файлам или папкам;
- Неверно прописаны настройки в файле .htaccess
Давайте рассмотрим каждую ситуацию более подробно, как её можно исправить.
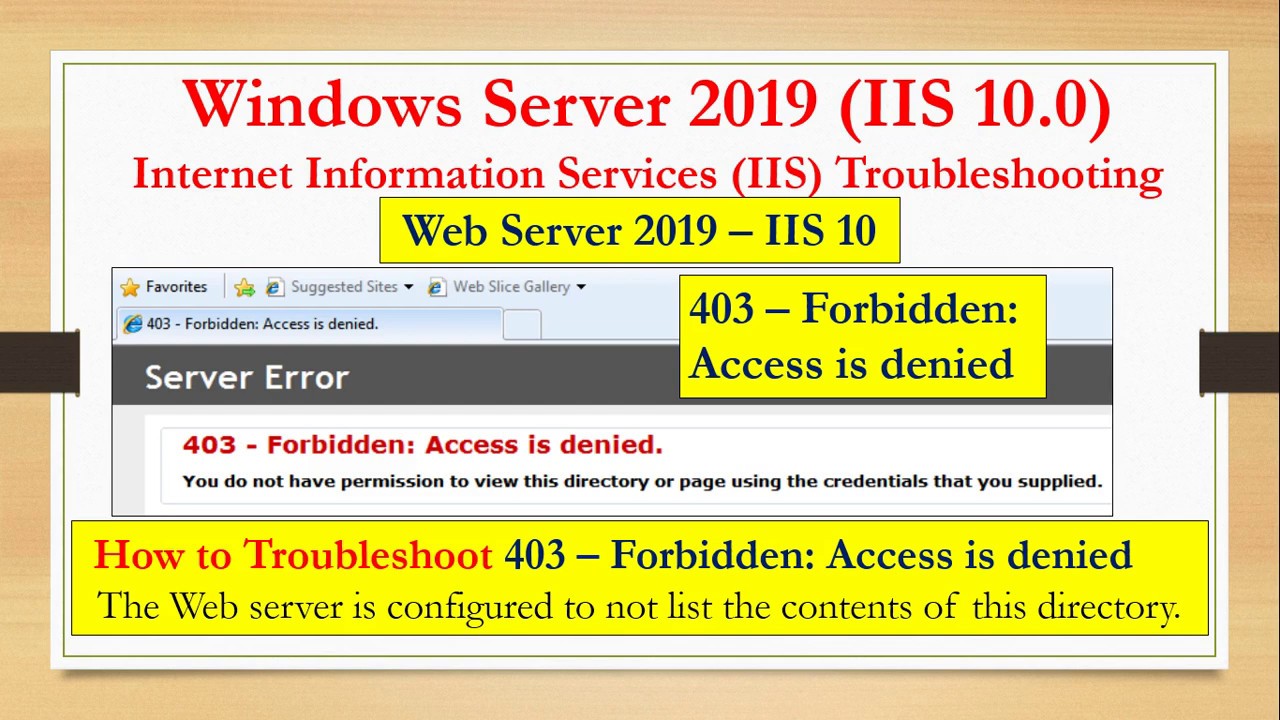
What does 403 Forbidden mean?
403 forbidden error or 403 forbidden access to this resource on the server is denied! is one of the HTTP errors that you face while working on WordPress. There are some HTTP status codes defined by Microsoft’s Internet Information Services which are considered standard internet codes.
These codes are used by web servers to communicate with your web browsers (like Chrome, Firefox, Opera, etc.). These codes are defined within the HTTP header. In normal circumstances when the website is working fine, the server sends Status Code as 200.
![]()
403 Forbidden Error
In case there is something wrong with the requested resource, it returns an error code. There are lots of error codes used by HTTP, for example, a 404 error is returned for a resource not found and a 500 error code signifies an internal server error. Another such HTTP response code is 403 which signifies that the user is prohibited or forbidden to access the requested web resource, which exists on the web server. We have tried to resolve all the common errors like 404 error, 504 gateway timeout error, 502 bad gateway error, etc faced while working on WordPress.
These types of errors are classified into two categories, they are either “client-side” errors or they are “server-side” errors.
Example of Client-Side Errors:
- 400 Bad Request
- 401 Unauthorized
- 403 Forbidden
- 404 Not Found, and
- 408 Request Timeout Error
Example of Server Side Errors:
- 500 Internal Server Error
- 502 Bad Gateway
- 503 Service Unavailable and
- 504 Gateway Timeout
To make the identification of these HTML errors easier 4xx are client-side errors, while 5xx are server-side errors.
In this article, we will learn about the reasons for 403 errors, and possible ways to troubleshoot them for your visitors to easily access your website or web application without any errors.
Решение проблемы
Включаем голову и понимаем, что значит где-то в папках существует некий файл, который задает правило на создание этих вредоносных файлов, значит надо найти и обезвредить именно этот файл-паразит.
Но как среди тысячи файлов найти этого паразита, тем более считаю абсолютно не реальным открывать каждый и смотреть на его содержимое в поисках вредоносного кода, тем более если в принципе слабо понимаешь язык программирования.
Я зашел на хостинг панель, открыл раздел «менеджер файлов» и нашел там кнопку «Поиск».
Написал в строке поиска index.php и значение искать во всем каталоге.
В результате поиска я обнаружил, что практически в каждой папке существует такой файл, причем даже в папках image, подумав логически, что в папке с изображениями файла index.php быть не может в априори, открыл его и понял что это и есть паразит и он расплодился по всей директории.
К сожалению я не сохранил, код из этого файла, но постараюсь на пальцах объяснить что я там увидел:
- Страшное словосочетание: @base64_decode
- Закодированные пароли password md5 (в две строки)
- Надписи о том что необходимо создавать файлы .htaccess
- И устанавливать права на файлы index.php, .htaccess 444
И чтобы не наделать глупостей и не удалить случайно нужные и исправные файлы index.php, я снова обратился к «Поиску», но искал уже по содержимому и прописал маску имени @base64_decode, получил результаты поиска и начал удалять все файлы.
Несколько файлов мне удалить не удалось именно они и были паразитами, я написал в тех поддержку хостинга, с просьбой сделать это. Отреагировали они довольно быстро.
Теперь я вернулся к своим сайтам в админку которых я не могу зайти, удалил файлы index.php и .htaccess в корневой директории. Залил новые и проблема исчезла.
Правильный код index.php:
Правильный базовый код в .htaccess:
Causes of 403 Forbidden
Often, HTTP 403 forbidden errors are caused by an access misconfiguration on the client-side, which means you can usually resolve the issue yourself.
A common cause of these errors is the file or folder permission settings, which control who can read, write, and execute the file or folder.
There are two possibilities in this case: either the website owner edited the settings so that you couldn’t access the resources, or they didn’t set the correct permissions.
The second common cause is corrupt or incorrect settings in the .htaccess file. This might happen after you’ve made changes to the file. Luckily, it’s easy to solve the issue by simply creating a new server configuration file.
Other than those two common causes, here are some other possible triggers for the error:
- Missing index page – the website’s homepage name is not index.html or index.php.
- Faulty WordPress plugin – if a WordPress plugin is not configured correctly or is incompatible with another plugin, it may trigger the 403 errors.
- Wrong IP address – the domain name points to a wrong or old IP address which now hosts a website that blocks your access.
- Malware infection – a malware infection may cause the .htaccess file to be constantly corrupted. You’ll need to remove the malware before restoring the file.
New web page link – the site owner may have updated the page’s link, which is now different from the cached version.
Conclusion
Understanding it, in a nutshell, a 403 forbidden error means the resource or requested file exists on the server but is not accessible to the visitor due to one of the above-specified reasons.
Following the above-described method will most probably solve the issue quickly if you are still not able to troubleshoot using any of the above methods we suggest you contact the tech support of your hosting provider immediately and see what the problem is.
During maintenance or other phases, the server technical team possibly makes configuration changes accidentally. Also, there is a possibility that your IP has been blocked by the server. Ask the technical team to check and unblock your IP Address.
Hope you are enjoying our article. if you find anything missed or would like to add some value to it, please do let us know in the comment section below.
Poor web server performance and lack of proper maintenance can increase the risk of server errors such as 403 Forbidden Error. Host or migrate your website to a more reliable, sturdy, fastest, and reputed server instead. WPOven provides Linode’s powerful private servers with industry-leading features such as:
- Fastest Private Servers
- Fully WordPress optimized Servers
- Upto 100% server uptime guarantee
- Server stack
- FREE SSL Certificate
- FREE Daily malware Scanning & Offsite Backups
- Hardened Servers with high-end security
- 24X7 WordPress Expert support
- Datacentres around the world, etc.
You can have all these features and much more in a single plan with unlimited Free migrations, unlimited staging, and a 14-day risk-free guarantee. Check out our plans or Contact our support team that assists you to choose the right plan.
403 Forbidden: что это за ошибка применительно к рядовым пользователям?
Что касается обычных юзеров, чаще всего такой сбой связан с ситуациями, когда пользователь пытается войти на какую-то страницу в интернете, но со стороны сайта выдается запрет. Почему это происходит? Да только потому, что его элементарно могли «забанить», например, в той же социальной сети. Доступ к некоторым ресурсам может быть ограничен в силу территориальных ограничений для компьютерного устройства, с которого производится доступ (например, блокирование доступа к американским интернет-радиостанциям для Восточной Европы), присутствует блокировка регионального уровня (например, невозможность доступа к российским новостным или поисковым ресурсам на Украине), неверно задается адрес ресурса, наблюдаются проблемы с самими сайтами или в операционной системе возникают кратковременные сбои. О вирусах сейчас не говорим, хотя и такой вариант их воздействия исключать нельзя.
Исправление ошибки 403 Forbidden
Исправить данную ошибку довольно легко, и для этого вы можете воспользоваться несколькими инструментами. Шаги ниже используют в качестве примера исправление этой ошибки на сайте в WordPress, но они также применимы для любого другого сайта. Для исправления ошибки следуйте данным шагам:
Шаг 1 – Проверка файла .htaccess
Возможно вы могли не знать о файле .htaccess. Причиной этому может стать то, что он может быть скрыт в каталоге вашего сайта или проекта. Однако, если вы используете Файловый Менеджер Hostinger, то данный файл будем видим по умолчанию.
![]()
В любых других случаях, к примеру, если вы используете cPanel, вы должны включить показ скрытых файлов в настройках файлового менеджера:
- Найдите иконку Диспетчер файлов в панели cPanel
- В каталоге public_html найдите файл .htaccess.
- Если вы не можете найти данный файл, нажмите Настройки и поставьте галочку напротив Показать скрытые файлы (dotfiles).
![]()
Чтобы дать вам общее представление о файле .htaccess, мы расскажем о нём немного подробнее. Htaccess — это файл конфигурации сервера и в основном предназначен для изменения конфигурации в настройках сервера Apache. Он необходим для правильной работы вашего сайта. Также, файл .htaccess имеется практических у всех сайтов на WordPress, однако, в некоторых редких случаях он может у вас отсутствовать или попросту быть удалён. В таком случае вам необходимо создать новый .htaccess файл вручную.
Теперь, когда вы нашли его, вам необходимо сделать следующее:
- Скачайте htaсcess на ваш компьютер, чтобы иметь его резервную копию.
- После этого удалите файл.
![]()
- Теперь попробуйте зайти на ваш сайт вновь.
- Если он работает нормально, значит ваш файл .htaccess был повреждён.
- Чтобы создать новый файл, зайдите в панель управления WordPress, и перейдите в раздел Настройки → Постоянные ссылки.
- Без внесения каких-либо изменений, нажмите кнопку Сохранить изменения внизу страницы.
![]()
- После этого у вас должен появиться новый .htaccess файл.
Однако, если это не помогло решить вашу проблему, то переходите к следующему шагу.
Шаг 2 – Настройка прав доступа
Еще одной причиной для появления ошибки 403 Forbidden являются некорректные права доступа для ваших файлов или папок. В общих чертах, в процессе создания файлов у них устанавливаются стандартные права доступа. В некоторых случая, к примеру, во время установки плагинов или других действий появляется необходимость эти права доступа изменить. Сделать это довольно легко. Вы можете воспользоваться для этого либо FTP-клиентом, либо Файловым Менеджером. В данном примере мы воспользуемся FTP-клиентом FileZilla, так как он имеет больше возможностей для смены прав доступа к файлам и папкам:
![Forbidden не заходит в админку wordpress [вирус] | как работать.ру](https://tiniatov.ru/wp-content/uploads/d/2/2/d2222805239270ec4a4c4f6edd2aa663.png)
![How to fix a 403 forbidden error [5 quick fixes]](https://tiniatov.ru/wp-content/uploads/d/e/a/dea58abb5e16ee31ceb1635f0a324cbe.jpeg)
- Подключитесь с помощью FTP-клиента к вашему сайту.
- Перейдите в корневой каталог вашего хостинг аккаунта, обычно это public_html.
- Выберите его и нажмите на него правой кнопкой мыши, затем выберите Атрибуты Файла.
![]()
- Поставьте галочку напротив Применить только к каталогам, введите значение прав 755 в поле ввода и нажмите OK.
![]()
- После того как FileZilla закончит изменение прав доступа к папкам, повторите пункт номер 3, но в этот раз выберите Применить только к файлам и введите 644 в числовое поле.
![]()
- После этого попытайтесь зайти на ваш сайт и узнать исправлена ли ошибка.
Если вы хотите узнать немного больше о правах доступа в Linux, загляните в данное руководство.
Шаг 3 – Отключение плагинов WordPress
Если вы до сих пор не смогли решить данную проблему, значит высоки шансы того, что она связана с поврежденными или несовместимыми с вашим WordPress плагинами. Решить данную проблему можно просто отключив их. Чтобы сохранить ваше время и убедиться в том, что именно плагин является причиной ошибки, нам необходимо отключить все плагины сразу. Вот что вам необходимо для этого сделать:
- Войдите в ваш хостинг аккаунт с помощью FTP и перейдите в каталог public_html или каталог в котором находятся файлы вашего WordPress.
- Откройте каталог wp-content.
- Далее переименуйте каталог с плагинами plugins, к примеру в ‘plugins-отключены’, чтобы их потом было легче найти.
![]()
Это полностью отключит все плагины.
Теперь попробуйте вновь посетить свой сайт. Это решило проблему? Если да, то один из плагинов являлся причиной ошибки 403 Forbidden. Теперь вновь измените название папки с плагинами на plugins, и попытайтесь отключить плагины один за другим. Вы также можете менять название папки определённого плагина, чтобы отключать их по отдельности. Таким образом вы сможете обнаружить проблемный плагин.
Вы можете либо попытаться переустановить плагин, либо установить его замену. К сожалению, если ничего из выше перечисленного вам не помогло, вам необходимо связаться с вашим провайдером услуг хостинга.
Effects of 403 Forbidden Error on Search Engine Rankings
If your website has started showing a 403 error page which is already ranked, then it is for sure that it will end up losing search engine rankings on prominent websites like Google, Bing, etc. As per the algorithm of search engines, they first downgrade the rankings and then eventually remove the pages from their index which are no more accessible to users or bots.
To avoid such a situation it is recommended that you keep a close watch on your website’s analytics, search console, and webmaster data, and see if there are no such errors.
You can simply log in to Google Search Console (previously known as Google Webmasters), Select your website, and click on Coverage under Index, as shown below:
![]()
Google Search Console coverage Error 403
It will display the number of errors as well as the type of errors faced by your visitors.
You can just keep an eye on it to keep your website Indexing healthy and avoid getting lower ranks on search engines.
In case if you have recently changed the URL of a page make sure to use a redirection plugin, and redirect the old URL to the new one. Also, update the XML sitemap in the search console.
![]() XML sitemap in the search console
XML sitemap in the search console
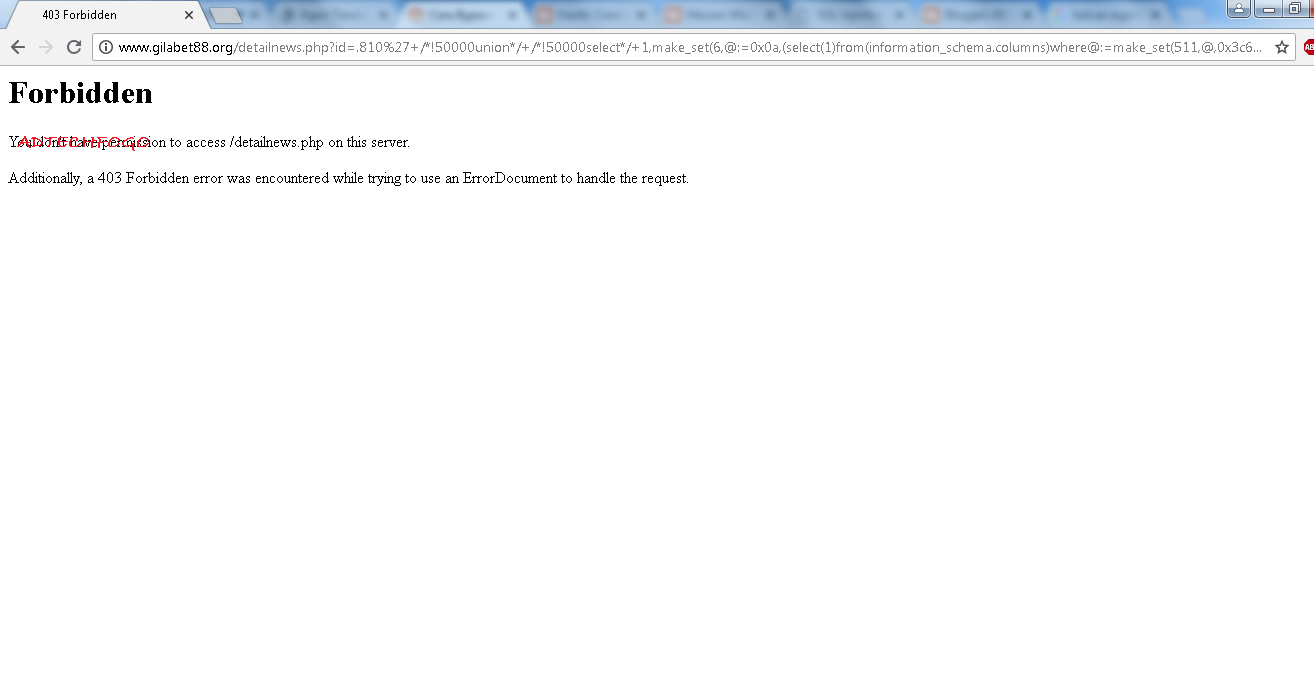
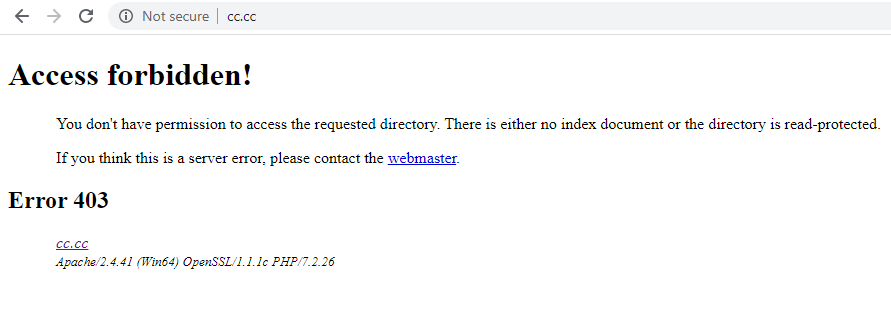
Apache 403 Forbidden: Effects and Possible Causes
The Apache ‘403 Forbidden’ error appears when you try to load a web page with restricted access. Depending on your browser and the website in question, there are different versions of the 403 error message:
- Forbidden
- Error 403
- HTTP Error 403.14 – Forbidden
- 403 Forbidden
- HTTP 403
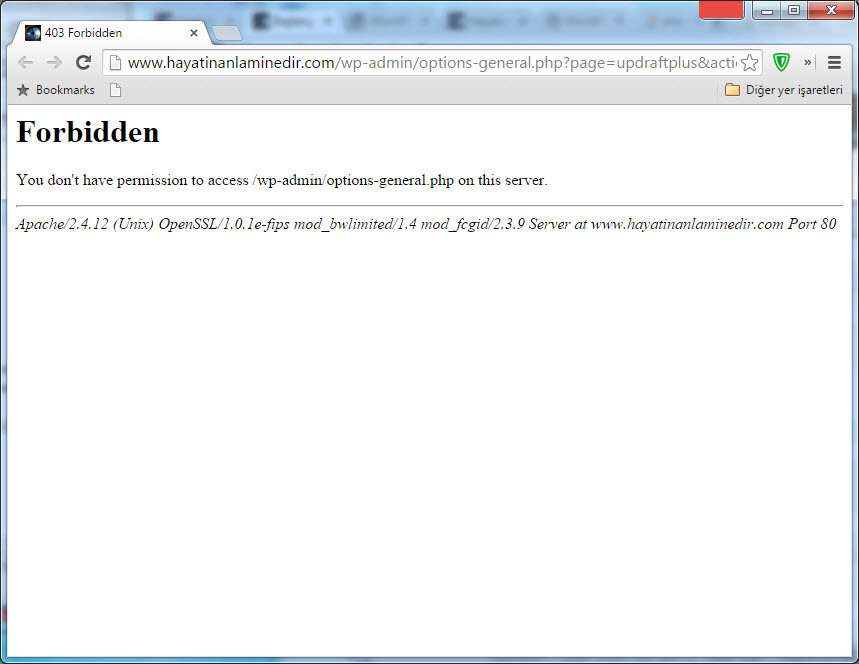
- Forbidden: You don’t have permission to access the site using this server
- Error 403 – Forbidden
- HTTP Error 403 – Forbidden
![]()
There are several potential reasons why the Apache 403 error occurs:
- The first option is a permission error in the webroot directory, where users don’t have access to website files.
- The second possible reason for a 403 error is missing or incorrect settings in the Apache configuration files.
- Finally, failing to set up a default directory index also triggers a 403 error message in Apache.
How to fix 403 forbidden error in Localhost
Quick Steps:
If you are familiar with most of the parts, follow these quick steps to solve forbidden errors:
- Open httpd.conf
- Find text in having and replace with
- Also find this code: and replace with
- Now restart all services of the wamp server
- Click on localhost or goto default browser and write localhost and it will start working
Step 1
Open “httpd.conf” file from below path.
C:\wamp\bin\apache\apache2.2.22\conf\httpd.conf (You need to locate your drive where you have installed wamp. In this case, we have installed wamp in C drive)
Or
Open from TaskBar Icon
![]()
Left Click on Wamp Server Icon => Apache =>httpd.conf
Find these lines from httpd.conf file
And replace it with
Also, find these codes in httpd.conf file
And replace it with
Save the file and close it.
Then go to Wamp Server Icon, Right-click on it, and Press Restart All Services. See the below image:
Step 5
In Wamp Server click on Localhost as shown in the below image
OR go to your default web browser and write “Localhost” at URL
It’s Done!
![]()
How to Fix 403 Forbidden Error on Google Chrome?
Sometimes your chrome browser can also be the culprit to trigger 403 forbidden errors. So, you resolve this issue from the chrome browser, there are certain methods you need to follow:
Some Quick and easy Solutions you must try at first:
- Refresh or Reload: Sometimes, the 403 forbidden error can trigger due to temporary glitches that can be eliminated by simply refreshing or reloading the webpage on Google chrome. Just click on the refresh button on the chrome browser and you are done.
- Try accessing the page after some time: sometimes, the server issue or the glitch can extend and might take a longer time than usual to resolve. If accessing the website is not on your priority list, you can wait for a few hours or even a day and try accessing it again. However, if you can’t wait and accessing the website is the utmost priority you can move on to other methods mentioned below:
- Incorrect Typed URL: It truly said, ” hurry-hurry spoils the curry”. Generally, users in a hurry type incorrect or misspelled URLs in the browser address bar, and the outcome result in these type of errors. So you must review your typed URL before pressing the enter key, and make sure the URL is 100% correct.
- Check on multiple devices or connections: You must also try to access the same website on multiple devices using the same network. If the error persists, move on to another internet connection and check if the error is due to the device or the internet connection.
- Reset to default settings: If none of the above methods work, try to reset everything from the browser to your wifi router to their default settings.
Clear Chrome Browser Cache and Cookies
If you are still seeing a 403 Forbidden error try deleting the specific cookies of your web browser. This is how website-specific cookies are deleted in Google Chrome:
- Open Chrome.
- Click on More Settings
- Next, click on Advanced.
- In this menu, find ‘Content settings’ Under “Privacy and security”
- Click on ‘Cookies’.
- Under “All cookies and site data,” search for the website’s name.
- To the right of the site, click Remove
To clear all the cookies you can just go to Google Chrome History, and delete the Cache completely. A similar process can be followed in other leading web browsers.
Go to History, and click on Clear Browsing Data as shown below:
![]()
Clear Browsing Data
![]()
Clear Browsing Data
You can select the time range, select the option of Cookies and other site data, select Cached Images and files, and then click on the “Clear data” button.
Deactivate Chrome Browser Extensions
All the browsers have some extensions installed on them by the user. While troubleshooting the 403 Forbidden error it is recommended to deactivate browser extensions.
Как исправить ошибку Forbidden вебмастеру
Методы исправления ошибки Forbidden You dont have permission to access / on this server зависят от тех инструментов, которыми вы пользуетесь при создании и редактировании сайтов (например, это «WAMP» Windows, Apache, MySQL и PHP).
Действие 1. Стоит выполнить следующее:
- Если в каталоге не оказалось индексного файла, то попробуйте создать файл index.html и проверьте, возникает ли ошибка
- Проверьте права на папку с вашим сайтом (установите права на папку 775, а на файлы – 644),
- Проверьте наличие в .htaccess команды «deny from all», при её нахождении удалите её, а лучше замените на «allow from all». Также можно попробовать вместо команды «Require local» вписать «Require all granted»,
- Скопируйте .htaccess из корневой папки вашего сайта в запасную директорию, а затем удалите оригинальный файл .htaccess.
![How to fix wordpress 403 forbidden error? [9 quick fixes]](https://tiniatov.ru/wp-content/uploads/a/1/b/a1ba8b190f54f9f56bdf8587d154bc16.jpeg)
![Сообщение об ошибке «запрещено, у вас нет разрешения на доступ / на этом сервере» [закрыто]](https://tiniatov.ru/wp-content/uploads/7/6/c/76c43a062fdd5f34910ee58fce2ce638.jpeg)
Действие 2. Если после выполнения данной операции проблема пропала, тогда причина была в повреждённом (некорректном) файле .htaccess. Сгенерировать новую версию данного файла можно перейдя в админке, в «Настройки» «Постоянные ссылки», и нажав на кнопку «Сохранить изменения» (Save changes) внизу.
- Если произошла ошибка с целевой папкой, тогда загрузите файлы вашего сайта в правильную папку (посмотрите путь к правильной папке в контрольной панели «Домены/ Мои домены),
- Если причиной дисфункции стало действие плагинов, то рекомендую отключить все имеющиеся плагины, и поочерёдно включая их, найти непосредственного виновника проблемы,
- Обратитесь к вашему хостеру на предмет проверки корректности прав доступа к файлам.
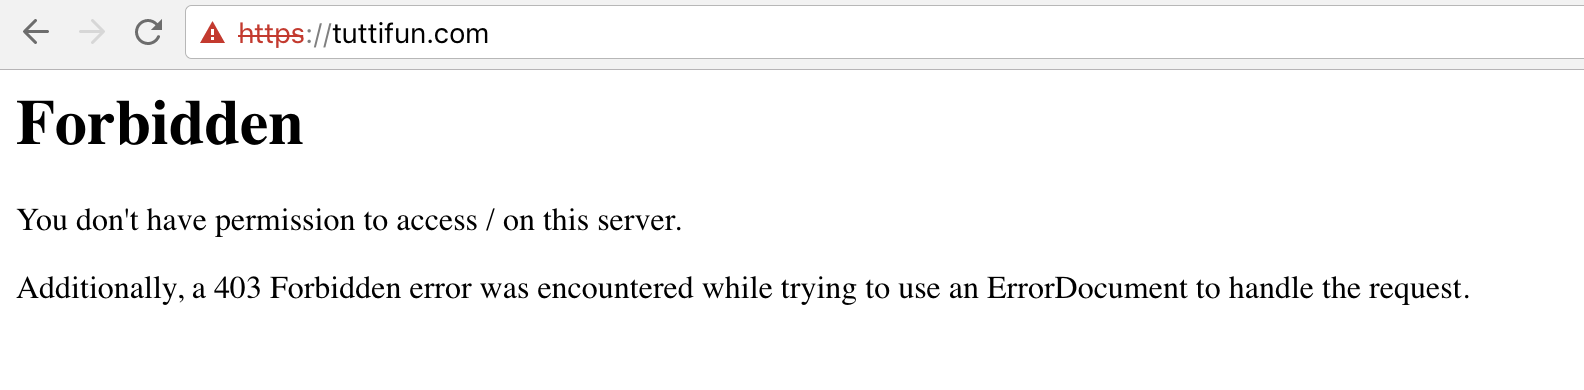
Что значит сообщение «You dont have permission to access / on this server»
В переводе с английского языка данное сообщение звучит как «Вы не имеете разрешения для доступа на данный сервер» и обычно означает ситуацию, когда данный Вебмастер (пользователь) не имеет прав для просмотра данной страницы.
Причины, по которым это происходит, различны для вебмастера и обычного пользователя. В частности, для вебмастера они могут быть следующими:
- Индексный файл отсутствует или имеет некорректное имя. Указанный файл заглавной страницы должен иметь название index.htm, index.html, index.phtml, index.shtml, index.php, причём все буквы должны быть маленькими,
- Установлены некорректные права на папку, где находится нужный файл, или некорректные права установлены на родительскую директорию, в которой находится данная папка (в них должны быть права на выполнения для владельца),
- Файлы сайта загружены в неверную папку,
- Некорректно настроены применяемые вебмастером плагины безопасности (блокируют нужные IP-адреса),
- Повреждён файл настроек .htaccess,
- Хостер внёс изменения в настройки сервера без ведома вебмастера.
Для стандартного пользователя причины ошибки также могут быть следующими:
- Случайный сбой на сервере,
- Администрация сайта закрыла пользователю (пользователям) доступ к данной странице (например, из-за бана),
- Имеются проблемы с пользовательским роутером,
- Провайдер закрыл доступ к данной странице (или у провайдера наблюдаются технические проблемы),
- Ваш браузер работает некорректно,
- Ссылка не верна,
- Ранее существующая страница была удалена.
Disconnect From Your VPN
Some websites block VPN users and will show a 403 Forbidden message if you try connecting to them through a VPN. If you suspect this is the problem, you can disconnect from your VPN and then try connecting to the website. (If you’re not familiar with VPNs, you probably aren’t using one at the moment.)
Individual websites may not ban every VPN server out there, so you might want to try switching to a different server provided by your VPN service of choice—or switching to another VPN service entirely.
Best Budget VPN
Mullvad VPN
READ NEXT
- › The Most Common Online Errors (and How to Fix Them)
- › What Is a 404 Error?
- › Tesla and Zoom Think You Want Work Calls in Your Car
- › New to Mastodon? Here Are 10 Fun Accounts to Follow
- › Thunderbird Shares First Peek at “Supernova” Update
- › You Can Now Use Google’s VPN on Your PC
- › 4 Simple Ways to Combat Energy Vampires and Save Money
- › Fluance Ai41 Review: Great-Sounding Speakers With Bluetooth Convenience
Clear Your Browser Cookies and Cache
It’s also possible the page with the error has been cached in your browser, but the actual link was changed on the website. To test out this possibility, you’ll have to clear your browser cache and cookies.
Clearing the cache won’t affect your browsing experience much, but some websites may take a couple of extra seconds to load as they re-download all the previously cached data. Clearing cookies means you’ll have to sign in again to most websites.
To clear the cache in your browser, you can follow this extensive guide which will teach you how to clear your cache in all the popular desktop and mobile browsers including Google Chrome, Firefox, Microsoft Edge, and Safari.
How to Fix ‘403 Forbidden’ in Apache
If you have come across an Apache ‘403 Forbidden’ message, there are several ways to fix it:
Method 1: Setting File Permissions and Ownership
If you suspect the cause of the 403 error to be incorrect file permissions, use:
The chmod command sets the execute permission for the webroot directory and read permission for the file.
To change directory ownership, use:
Where:
- is the user account with root privileges on your web server.
- is or .
Restart the Apache web server for the changes to take effect.
If you are working with Ubuntu, use the following command to restart Apache:
If you are working with Centos, use:
Note: If you are having difficulties to restart the Apache service, see our articles: How to Restart Apache on CentOS or How Restart Apache on Ubuntu.
Method 2: Setting Apache Directives
It is possible that the proper require directive is not configured and restricts access to resources. To fix it:
1. Access Apache’s main configuration file. For Ubuntu, use:
For Centos, use:
2. Once you open the configuration file, scroll down to the following section:
![]()
3. If the final line in the section contains , change it to .
4. Press and then to save changes to the Apache configuration file.
5. Restart the Apache web server for the changes to take effect. For Ubuntu, use:
For Centos, use:
Method 3: Adding a Default Directory Index
When a user visits a URL that requests a directory, the web server looks for a file in the given directory. If the file or any similar files are not found, and directory index listings are disabled, the web server displays the ‘403 Forbidden’ error message.
To fix the issue, add a default directory index.
1. Access Apache’s main configuration file by using:
2. Scroll down to find out the default index file name:
3. Make sure there is a file in the webroot folder with this name and upload it if it’s missing.
Conclusion
After following this tutorial, you should be able to determine the cause of an Apache ‘403 Forbidden’ error and fix any issues you may find.
If you want to find out more about 403 forbidden error, read our article 403 forbidden error — what is it and how to fix it.
4 Ways Fix 403 Forbidden Error
1. Wrong Directory or File permissions
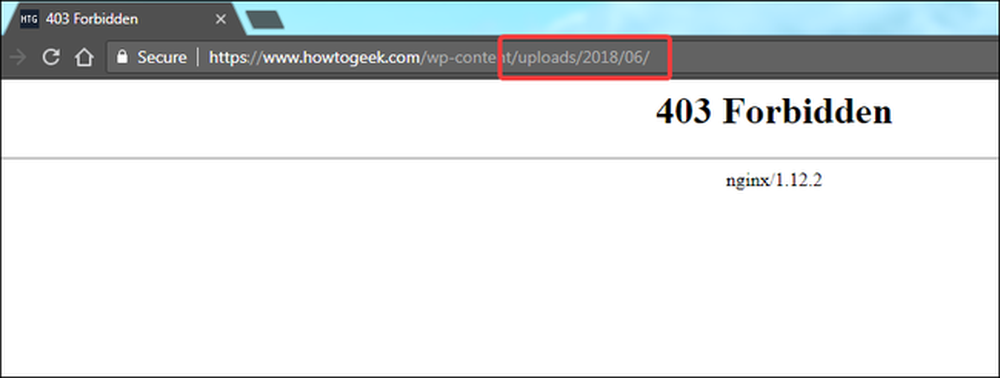
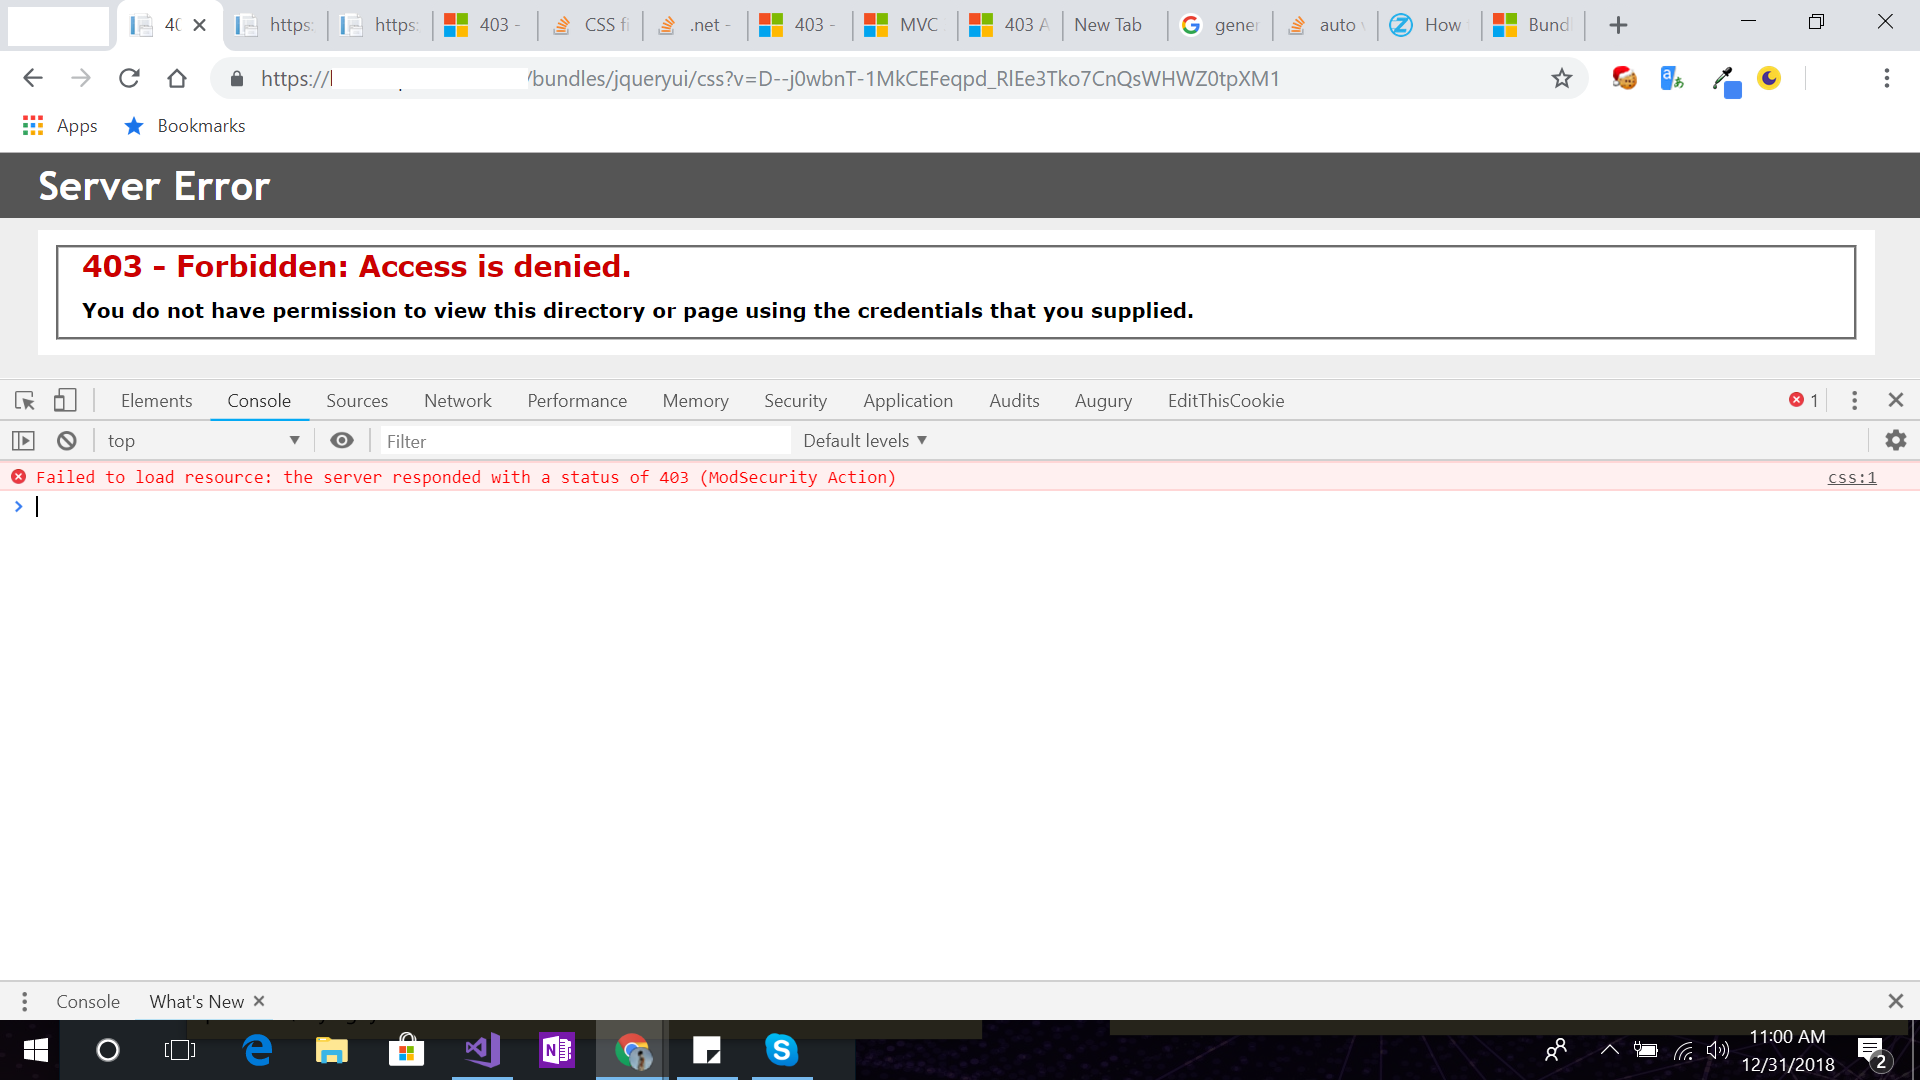
Incorrect file permissions are one of the most common cause of this “403 Forbidden” error. In case of NGINX, the standard permission settings for directories and and file are 755 and 644 respectively. Moreover, the NGINX user also needs to be the owner of the directory and files.
Identify the NGINX User
To begin, we first need to identify the NGINX user. To check the user, run:
Output:
In our case, we can identify the NGINX worker processe in the third row of the first column.
We can see that the NGINX worker process is running as the user .
Set File Ownership
Since we already know that the standard permission for the directory in case of Nginx is 755 and that of the file is 644. We need to set the file ownership.
For example, if the root folder of your website is , run:
+
Set Directory Permissions
Now we need to set 755 permissions on each directory in this location.
In our case, we need to set permission on example.com directory. To achieve that, run:
Now, navigate to the root directory of the website by running:
Now change the file permission to 644 by running:
2. Incorrect Index File
The “403 Forbidden” error can appear if the index file is not set properly.
+
Navigate to the NGINX configuration file and check whether you have updated correct index file or not. To do that, open our NGINX configuration file for example.com, by running:


![Forbidden не заходит в админку wordpress [вирус]](https://tiniatov.ru/wp-content/uploads/3/1/9/319e7650ae63d71e84ab6092bd6bd897.png)
For example, if you’re running a WordPress based website, inside the server block your index should be:
If you’re running an HTML based website, your default file must contain extension. e.g.,
Chances are there that you might have forgotten to add this line inside the block. If you have included this line of code, you must check whether you have spelled it correctly or not.
Moreover, you also must keep in mind that these file names are case-sensitive. If the default file name is index.html but the file is named mentioned in NGINX configuration is Index.html, this will throw “403 Forbidden” error.
If you are running some web application that NGINX is not able to recognize, you can edit configuration file and add the file extension.
For example, if you’re running a python based application, you can add index.py to the list of recognized index files:
In case you’re running a web application that uses multiple programming languages, you can add:
Now, update the changes in the configuration file and restart NGINX by running:
or
Autoindex
It is an alternative solution which is useful if you don’t have any index file or no index file is found by NGINX.
The the server will scan and list all of the contents of your website’s root directory by method. But for security reasons, the directory index is turned off in NGINX by default.
You can turn on this feature by just adjusting a few lines of code. You just need to turn on and turn of the and respectively.
Now you can add these configurations to the location block. The final result will look like:
To activate the directory indexing for some other directories, you can add the forward slash (/) and then the name of the directory. For example:
Now, save the changes and reload the NGINX.
4. No index files
This could be a silliest mistake if you don’t have any file name as ‘index (index.php, index.html, index.py)’ inside the root directory of your website. This could also be a reason that your website is throwing a 403 Forbidden Error.
Additional Resources
HTTP Status Codes on W3C
You might also want to check some other fixes:
- Error Establishing a Database Connection in WordPress Fix
- Fix 502 Bad Gateway Nginx Error in Ubuntu
- Fix: 504 Gateway Timeout Nginx Error
- PHP5-FPM 502 Bad Gateway Error (connect() to unix:/var/run/php5-fpm.sock failed (2: No such file or directory)
- Your PHP installation appears to be missing the MySQL extension which is required by WordPress
I hope you these 4 ways will help you to Fix 403 Forbidden Error.
Which of these ways helped you get rid of this error? Let us know in the comment section below.
Главная страница сайта задана некорректно
Главная страница сайта (индексный файл) — это первая страница сайта, которая отображается при введении домена. Она называется index.html или index.php. Индексный файл может иметь и другое название — оно указано в настройках. Если этот файл отсутствует в корневой папке, может возникнуть ошибка 403.
Чтобы восстановить корректную работу сайта, в настройках укажите соответствующее название индексного файла. Чтобы проверить название файла и указать нужное, выполните шаги.
Шаг 1. Проверьте наличие индексного файла в корневой папке.
- Откройте панель управления ISPmanager.
- Перейдите на страницу WWW-домены — в раздел «WWW».
- Выберите домен, на котором отображается ошибка 403, и нажмите кнопку Каталог.
- Проверьте, что в открывшейся корневой папке сайта есть индексный файл, и запомните его название.
Шаг 2. Проверьте название файла главной страницы в настройках.
- Войдите в панель управления хостингом ISPmanager.
- Перейдите на страницу WWW-домены — в раздел «WWW».
- Выберите домен, на котором отображается ошибка 403, и нажмите кнопку Изменить. В поле ввода на строке «Индексная информация» указано название индексного файла.
- Сравните название индексного файла в настройках с его названием в корневой папке. Если названиях расходятся, исправьте его в настройках и кликните Ок.
Если в индексной папке есть файл и его название соответствует названию в настройках, но ошибка 403 не пропала, попробуйте варианты, описанные ниже.